Correctly adjusting your bike’s saddle is essential for both comfort and performance. An ill-fitting saddle can lead to knee, neck and back pain, and negatively affect your cycling experience. In this article, we’ll take you step-by-step through the process of adjusting your saddle, taking into account the cyclist’s anatomy, bike mechanics and ergonomic principles. Obviously, these recommendations are particularly suitable for a bike electrified with our TSDZ2 crankset motor kit.

Understanding your bike saddle
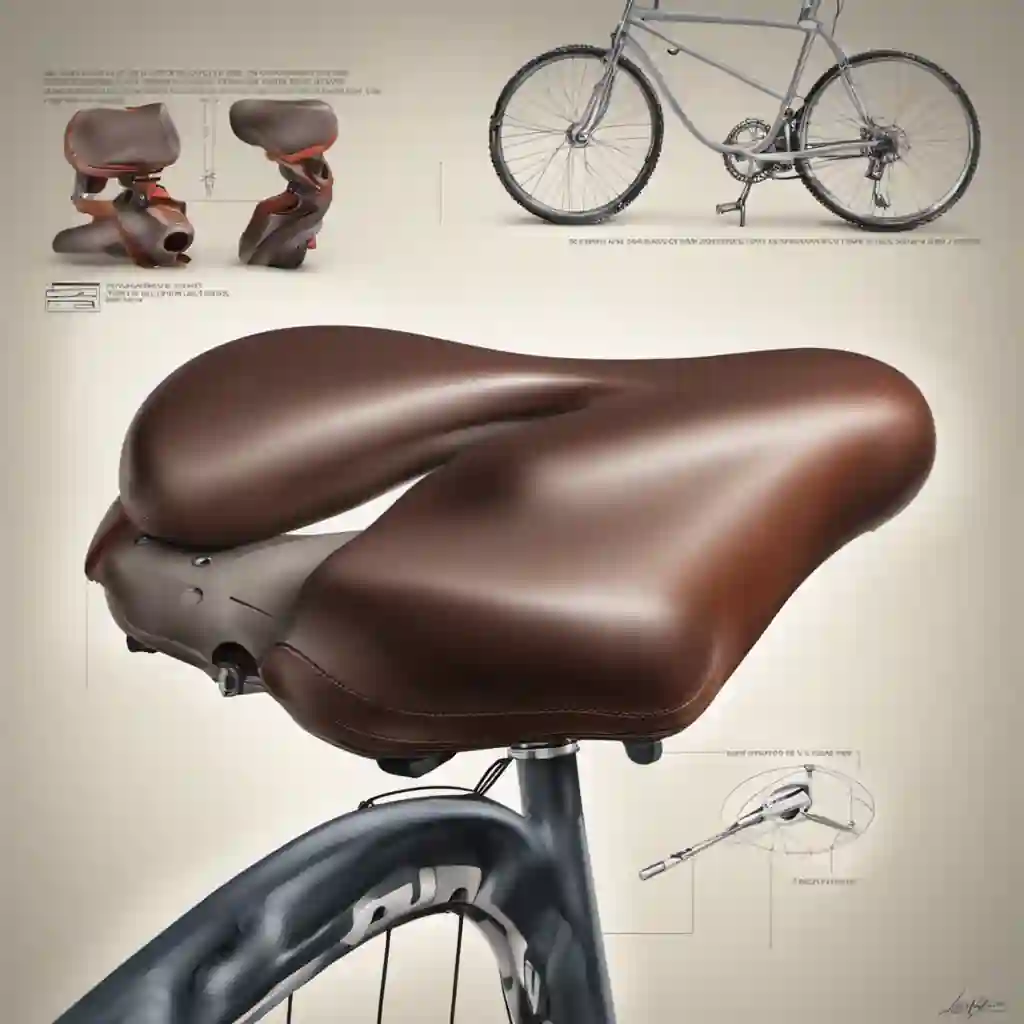
The saddle is one of the main points of contact between rider and bike. It’s made up of several parts, including the base, the beak, the hollow and the back. The base is the rigid lower part that supports the entire saddle structure. The beak is the pointed front part that allows the rider to lean forward when pedaling. The hollow is the central area where the perineum rests, a sensitive area for cyclists. Finally, therear is the wide, flat part on which most of the rider’s weight rests.
Inseam height measurement
To get started, first measure your inseam height. To do this, stand barefoot against a wall with your legs slightly apart and use a book or flat object to simulate a saddle in a horizontal position. Measure the distance between the floor and the top of the book, in centimetres. This measurement represents your inseam height.
Calculating the ideal saddle height
Once you’ve measured your inseam height, you can use the following formula to calculate your ideal saddle height: inseam height x 0.885. For example, if your inseam height is 80 cm, your ideal saddle height would be 70.8 cm (80 x 0.885). This is the distance between the top of the saddle and the center of the bottom bracket axle.
Saddle tilt adjustment
Theinclination of the saddle must be adjusted so that it is perfectly horizontal. Tilting too far forwards or backwards can cause discomfort in the perineum or buttocks. Use a spirit level to check that your saddle is horizontal and adjust it if necessary.

Adjusting the seat back
Saddle setback is the distance between the front of the saddle and the vertical axis passing through the bottom bracket axle. To set this distance, stand on your bike with the cranks in a horizontal position (one crank pointing forwards, the other backwards). Your front knee should be directly over the front pedal axle. If this is not the case, adjust your saddle’s recoil accordingly.
Finding the optimal saddle position
To check that you’ve found the optimum position for your saddle, use a plumb bob to align the front of the knee with the pedal axle when the cranks are in the horizontal position. If the alignment is correct, this means you have adjusted your saddle correctly.

Saddle adjustment according to discipline
Saddle adjustment may vary slightly depending on the discipline practiced (road bike, mountain bike, touring bike, VAE, etc.). Road cyclists generally need a higher, more forward-sloping saddle to promote an aerodynamic position. Mountain bikers often prefer a slightly lower, more rearward-angled saddle to facilitate movement over rough terrain. When velotafing with your electrified bike, you’ll be looking for a compromise between performance and comfort.
Adjusting the saddle to your body type
The rider’s individual morphology can also influence the optimal saddle adjustment. For example, cyclists with long, slender thighs may need a higher saddle height than that calculated by the standard formula. Feel free to experiment with different positions to find the one that suits you best.
It’s essential to pay particular attention to the adjustment of your saddle to avoid the pain and discomfort that can arise from incorrect positioning. By following the tips and steps described in this article, you’ll be able to adjust your saddle optimally, guaranteeing maximum comfort and enhanced performance during your cycling outings.


